
Tech stack yang saya gunakan dalam tutorial instalasi ini adalah sebagai berikut:
- Laravel 10
- Vue 3 + Vite
- Vue-router
- Tailwind CSS
- Pinia (State Management Vue)
Kebutuhan minimum yang perlu diinstall:
- PHP 8.1
- Composer
- NodeJS
Tutorial
Install Laravel
Tambahkan laravel installer
1
composer global require laravel/installer
Init project laravel baru, laravel new {nama_project}. Disini saya menggunakan nama project yayasanku
1
laravel new yayasanku
Setelah berhasil, maka akan muncul struktur folder seperti berikut ini
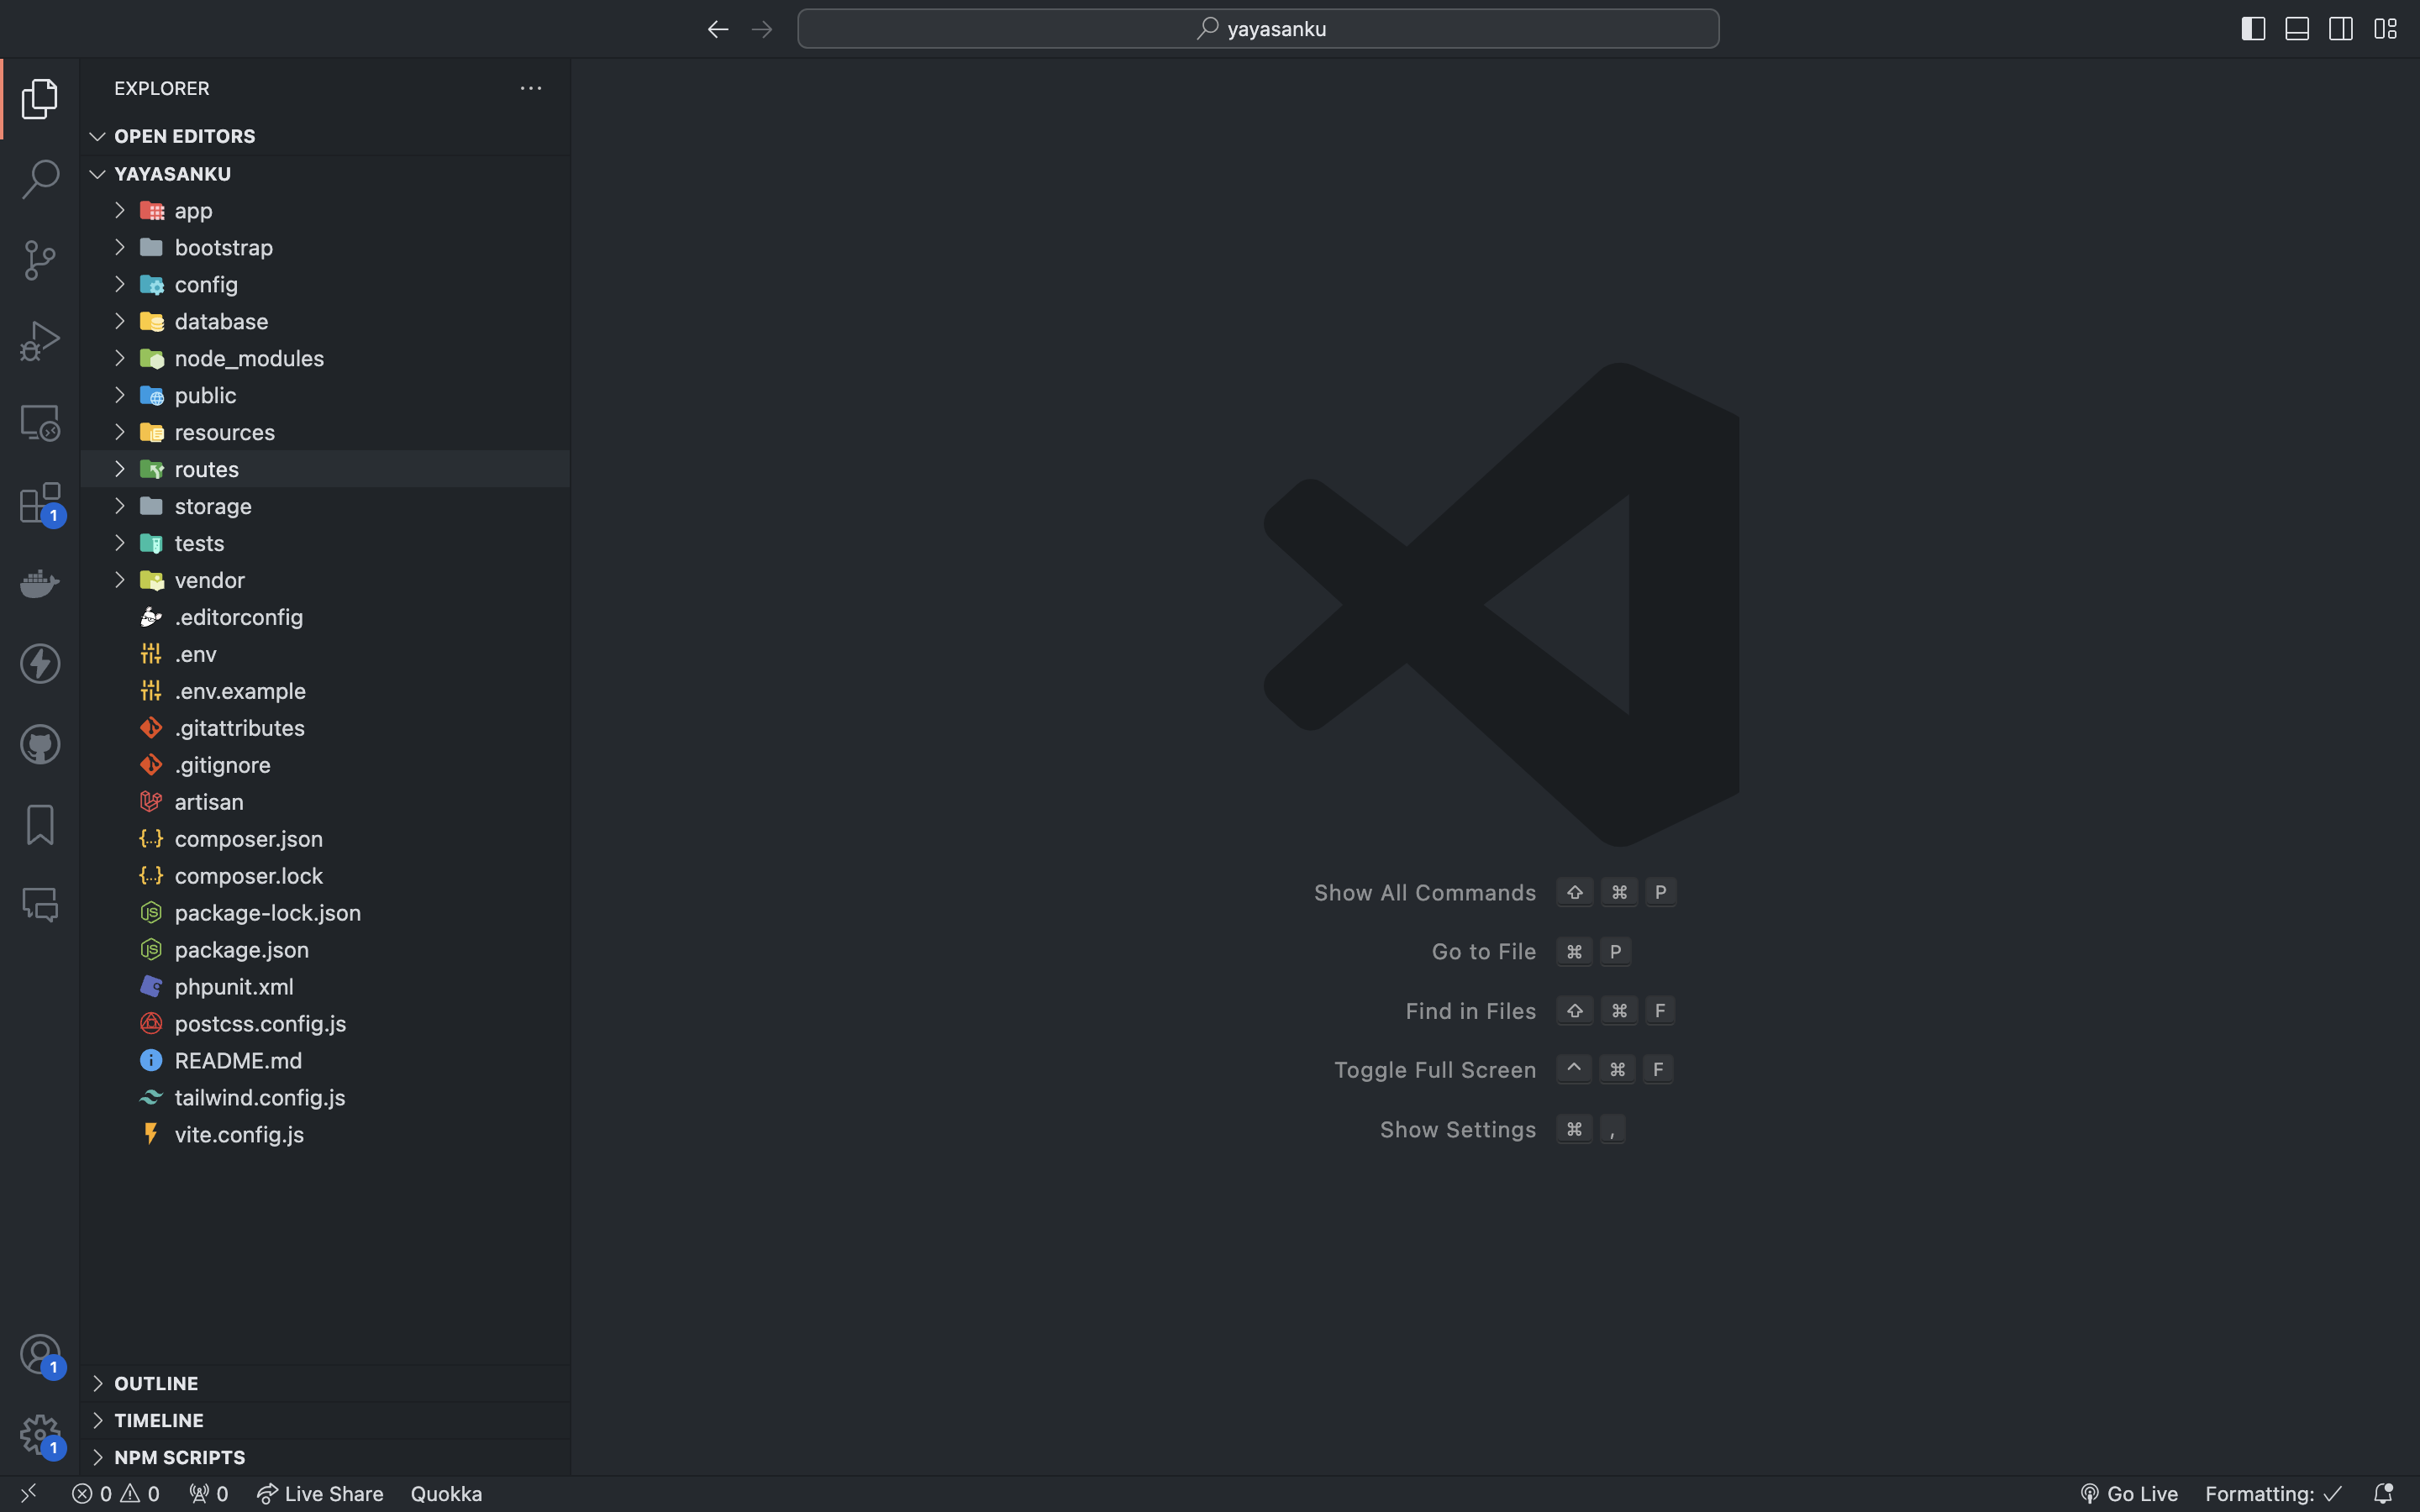 Struktur folder laravel di VSCode
Jalankan project laravel dan buka di browser https://localhost:8000
1
php artisan serve
Install VueJS 3 dengan Vite
Alasan saya pakai vite karena lebih cepat proses load dibandingkan dengan webpack. Cold-start server development yang lebih cepat dibandingkan dengan bundle tools lain dengan memanfaatkan: pre-bundle dependencies menggunakan esbuild dan menyajikan source code ES module langsung di browser.
Install depedency di laravel
1
npm install
Install vuejs
1
npm install vue@next vue-loader@next
Install vite
1
npm i @vitejs/plugin-vue
Edit file vite.config.js
1
2
3
4
5
6
7
8
9
10
11
12
13
14
// vite.config.js
import { defineConfig } from 'vite';
import laravel from 'laravel-vite-plugin';
import vue from '@vitejs/plugin-vue'

export default defineConfig({
    plugins: [
        vue(),
        laravel({
            input: ['resources/css/app.css', 'resources/js/app.js'],
            refresh: true,
        }),
    ],
});
Lalu tambahkan file app.js di dalam folder resources/js
1
2
3
4
5
import { createApp } from 'vue'
import App from './App.vue'

createApp(App)
    .mount("#app")
Tambahkan file App.vue dalam folder resources/js
1
2
3
<template>
    <h1>Welcome to the Vue!</h1>
</template>
Tambahkan file app.blade.php di folder resources/views
1
2
3
4
5
6
7
8
9
10
11
12
13
14
<!DOCTYPE html>
<html lang="">
    <head>
        <meta charset="utf-8">
        <meta name="viewport" content="width=device-width, initial-scale=1">

        <title>ًApplication</title>
        @vite('resources/css/app.css')
    </head>
    <body>
        <div id="app"></div>
        @vite('resources/js/app.js')
    </body>
</html>
Edit router di routes/web.php
1
2
3
4
5
6
7
<?php

use Illuminate\Support\Facades\Route;

Route::get('/', function () {
    return view('app');
});
Jalankan di terminal
1
php artisan serve
1
npm run dev
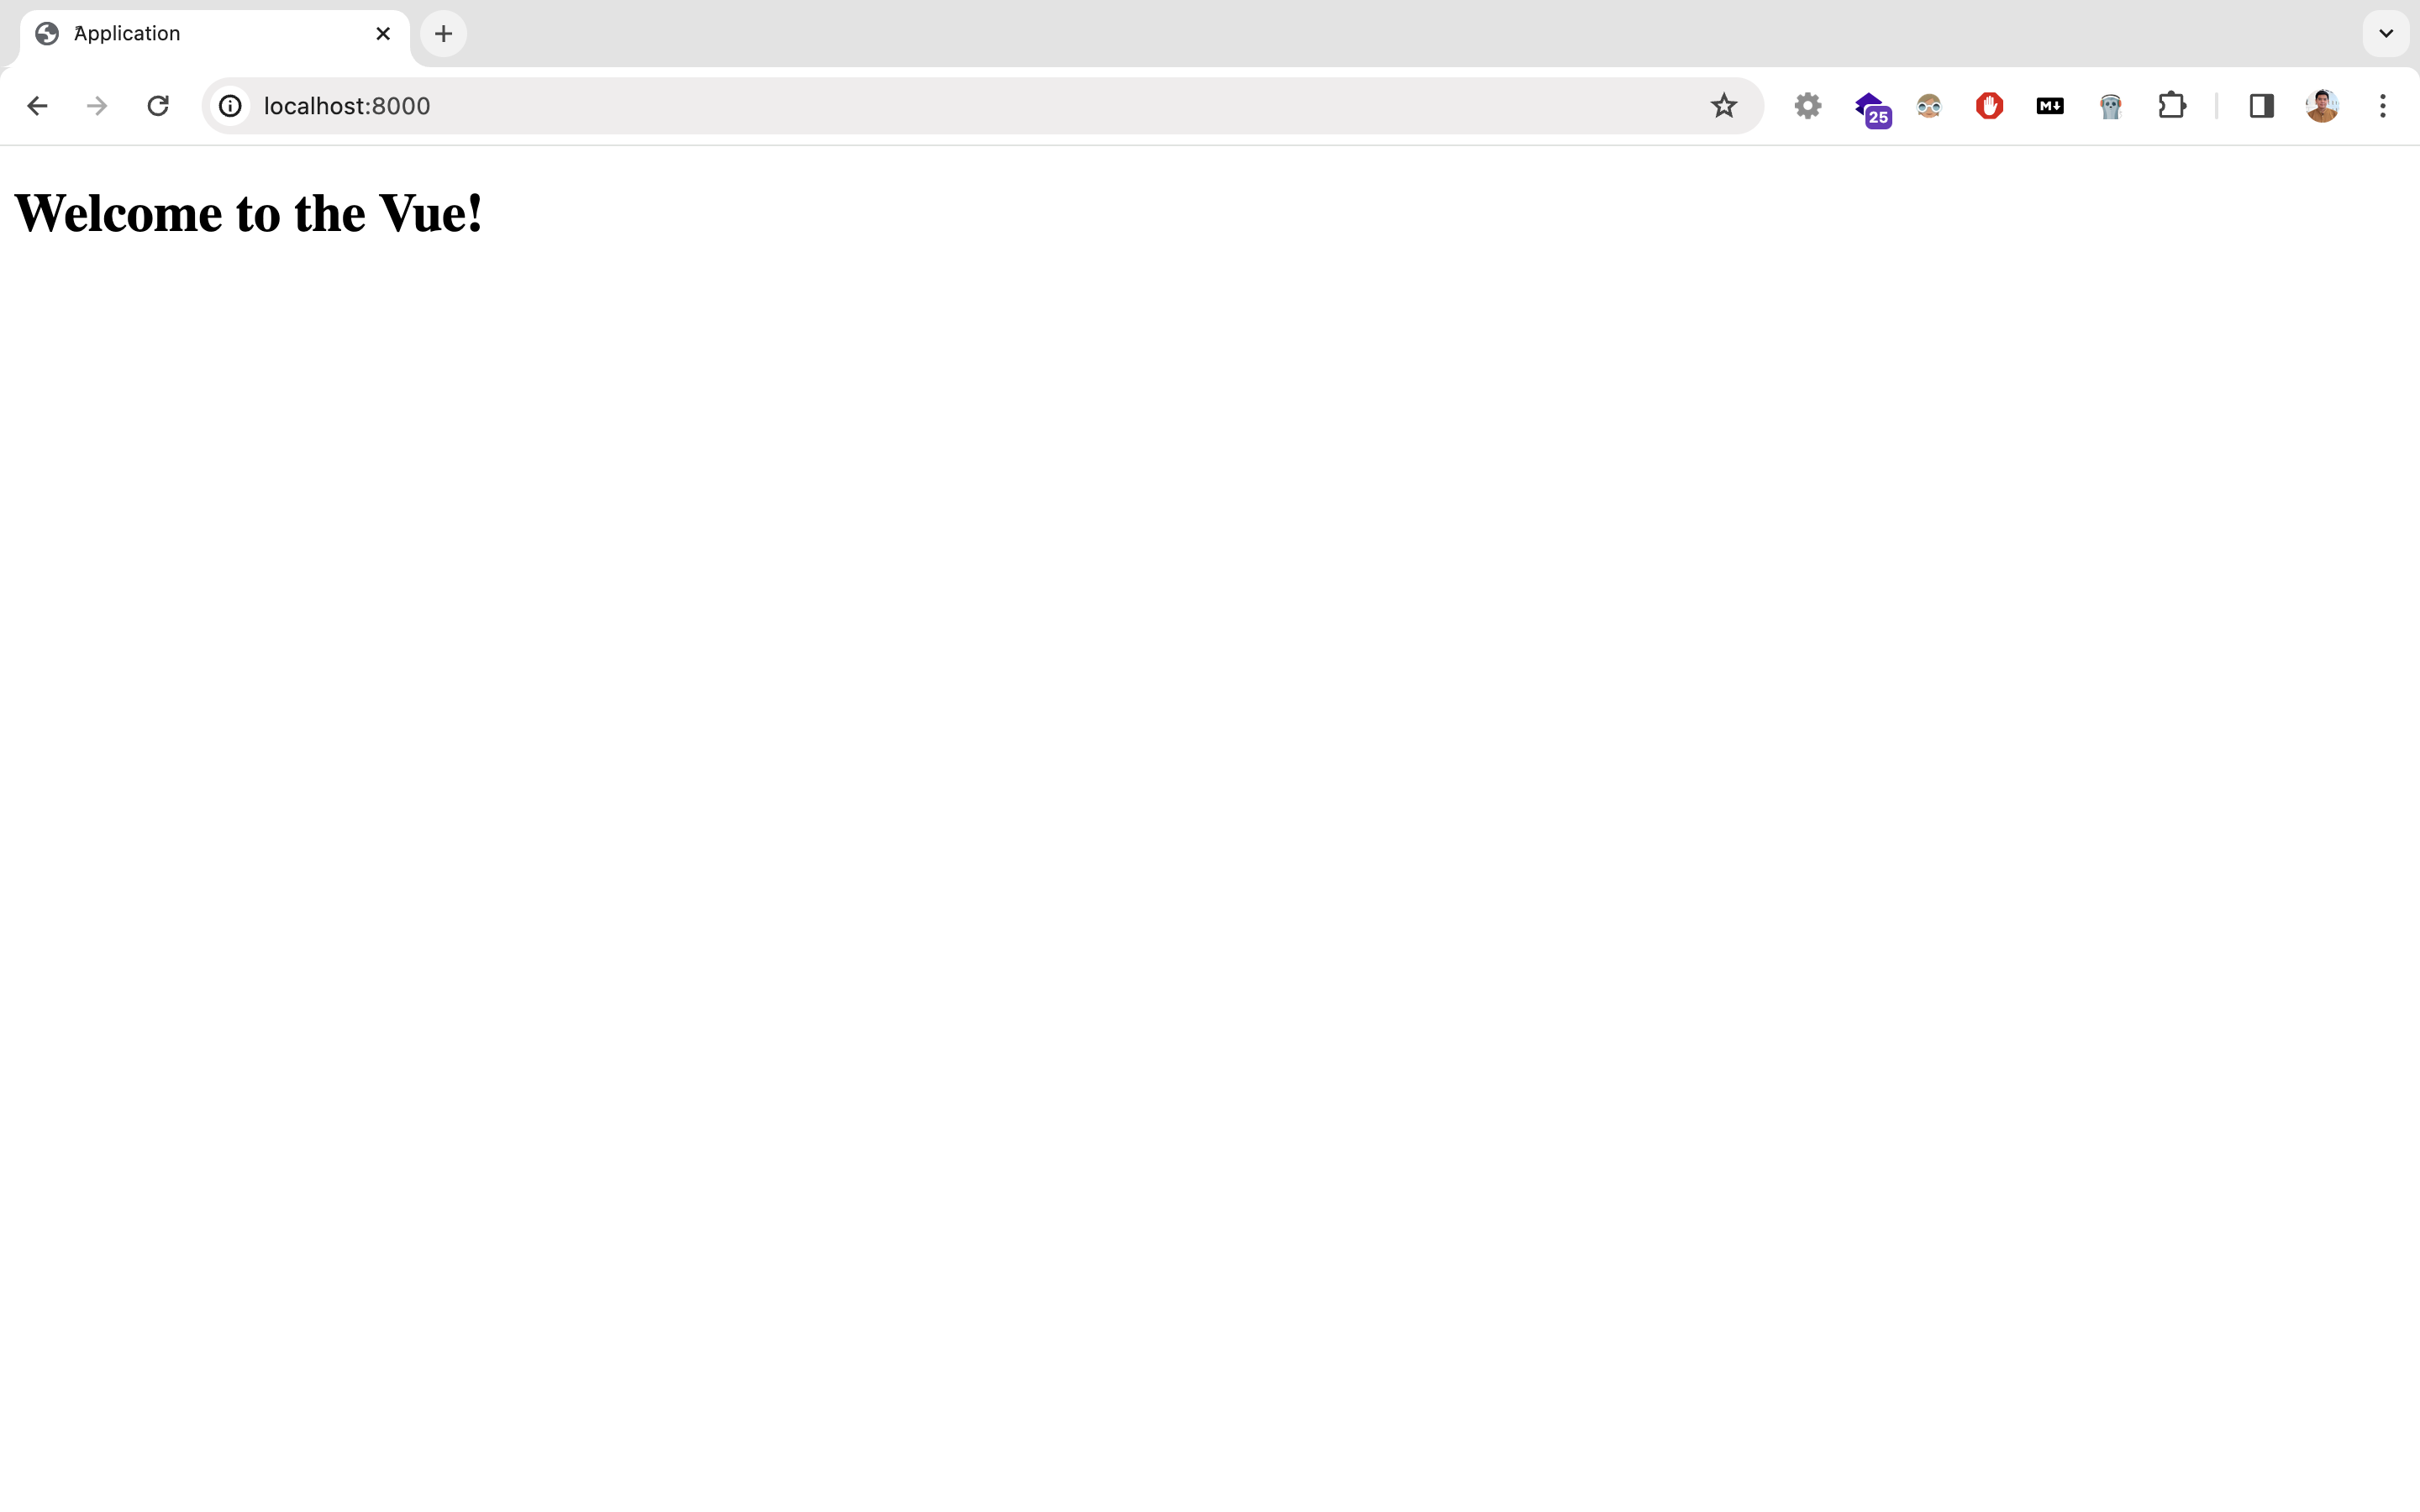 Tampilan awal project di browser
Install vue-router
Vue-router diinstall biar bisa single page application (SPA). Berpindah halaman tanpa harus reload ulang browser
Install dependency di terminal
1
npm install vue-router@next --save
Buat 2 tampilan UI baru di folder resources/js/views
1
2
3
<template>
    <h1>Homepage</h1>
</template>
1
2
3
<template>
    <h1>About</h1>
</template>
Buat file baru router.js di dalam folder resources/js
1
2
3
4
5
6
7
8
9
10
11
12
13
14
15
16
17
18
19
20
21
import { createApp } from 'vue'
import App from './App.vue'
import { createRouter, createWebHistory } from "vue-router"

const routeInfos = [
    {
        path: "/",
        component: () => import('@/views/Homepage.vue')
    },
    {
        path: "/about",
        component: () => import('@/views/About.vue')
    }
]

const router = createRouter({
    history: createWebHistory(),
    routes: routeInfos
})

export default router;
Edit file App.js yang telah dibuat sebelumnya
1
2
3
4
5
6
7
8
import { createApp } from 'vue'

import App from './App.vue'
import router from "./router"

createApp(App)
    .use(router)
    .mount("#app")
Edit file App.vue
1
2
3
4
5
6
<template>
    <h1>Welcome to the Vue!</h1>
    <router-link to="/">Home</router-link> |
    <router-link to="/about">About</router-link>
    <router-view />
</template>
Buka browser kembali
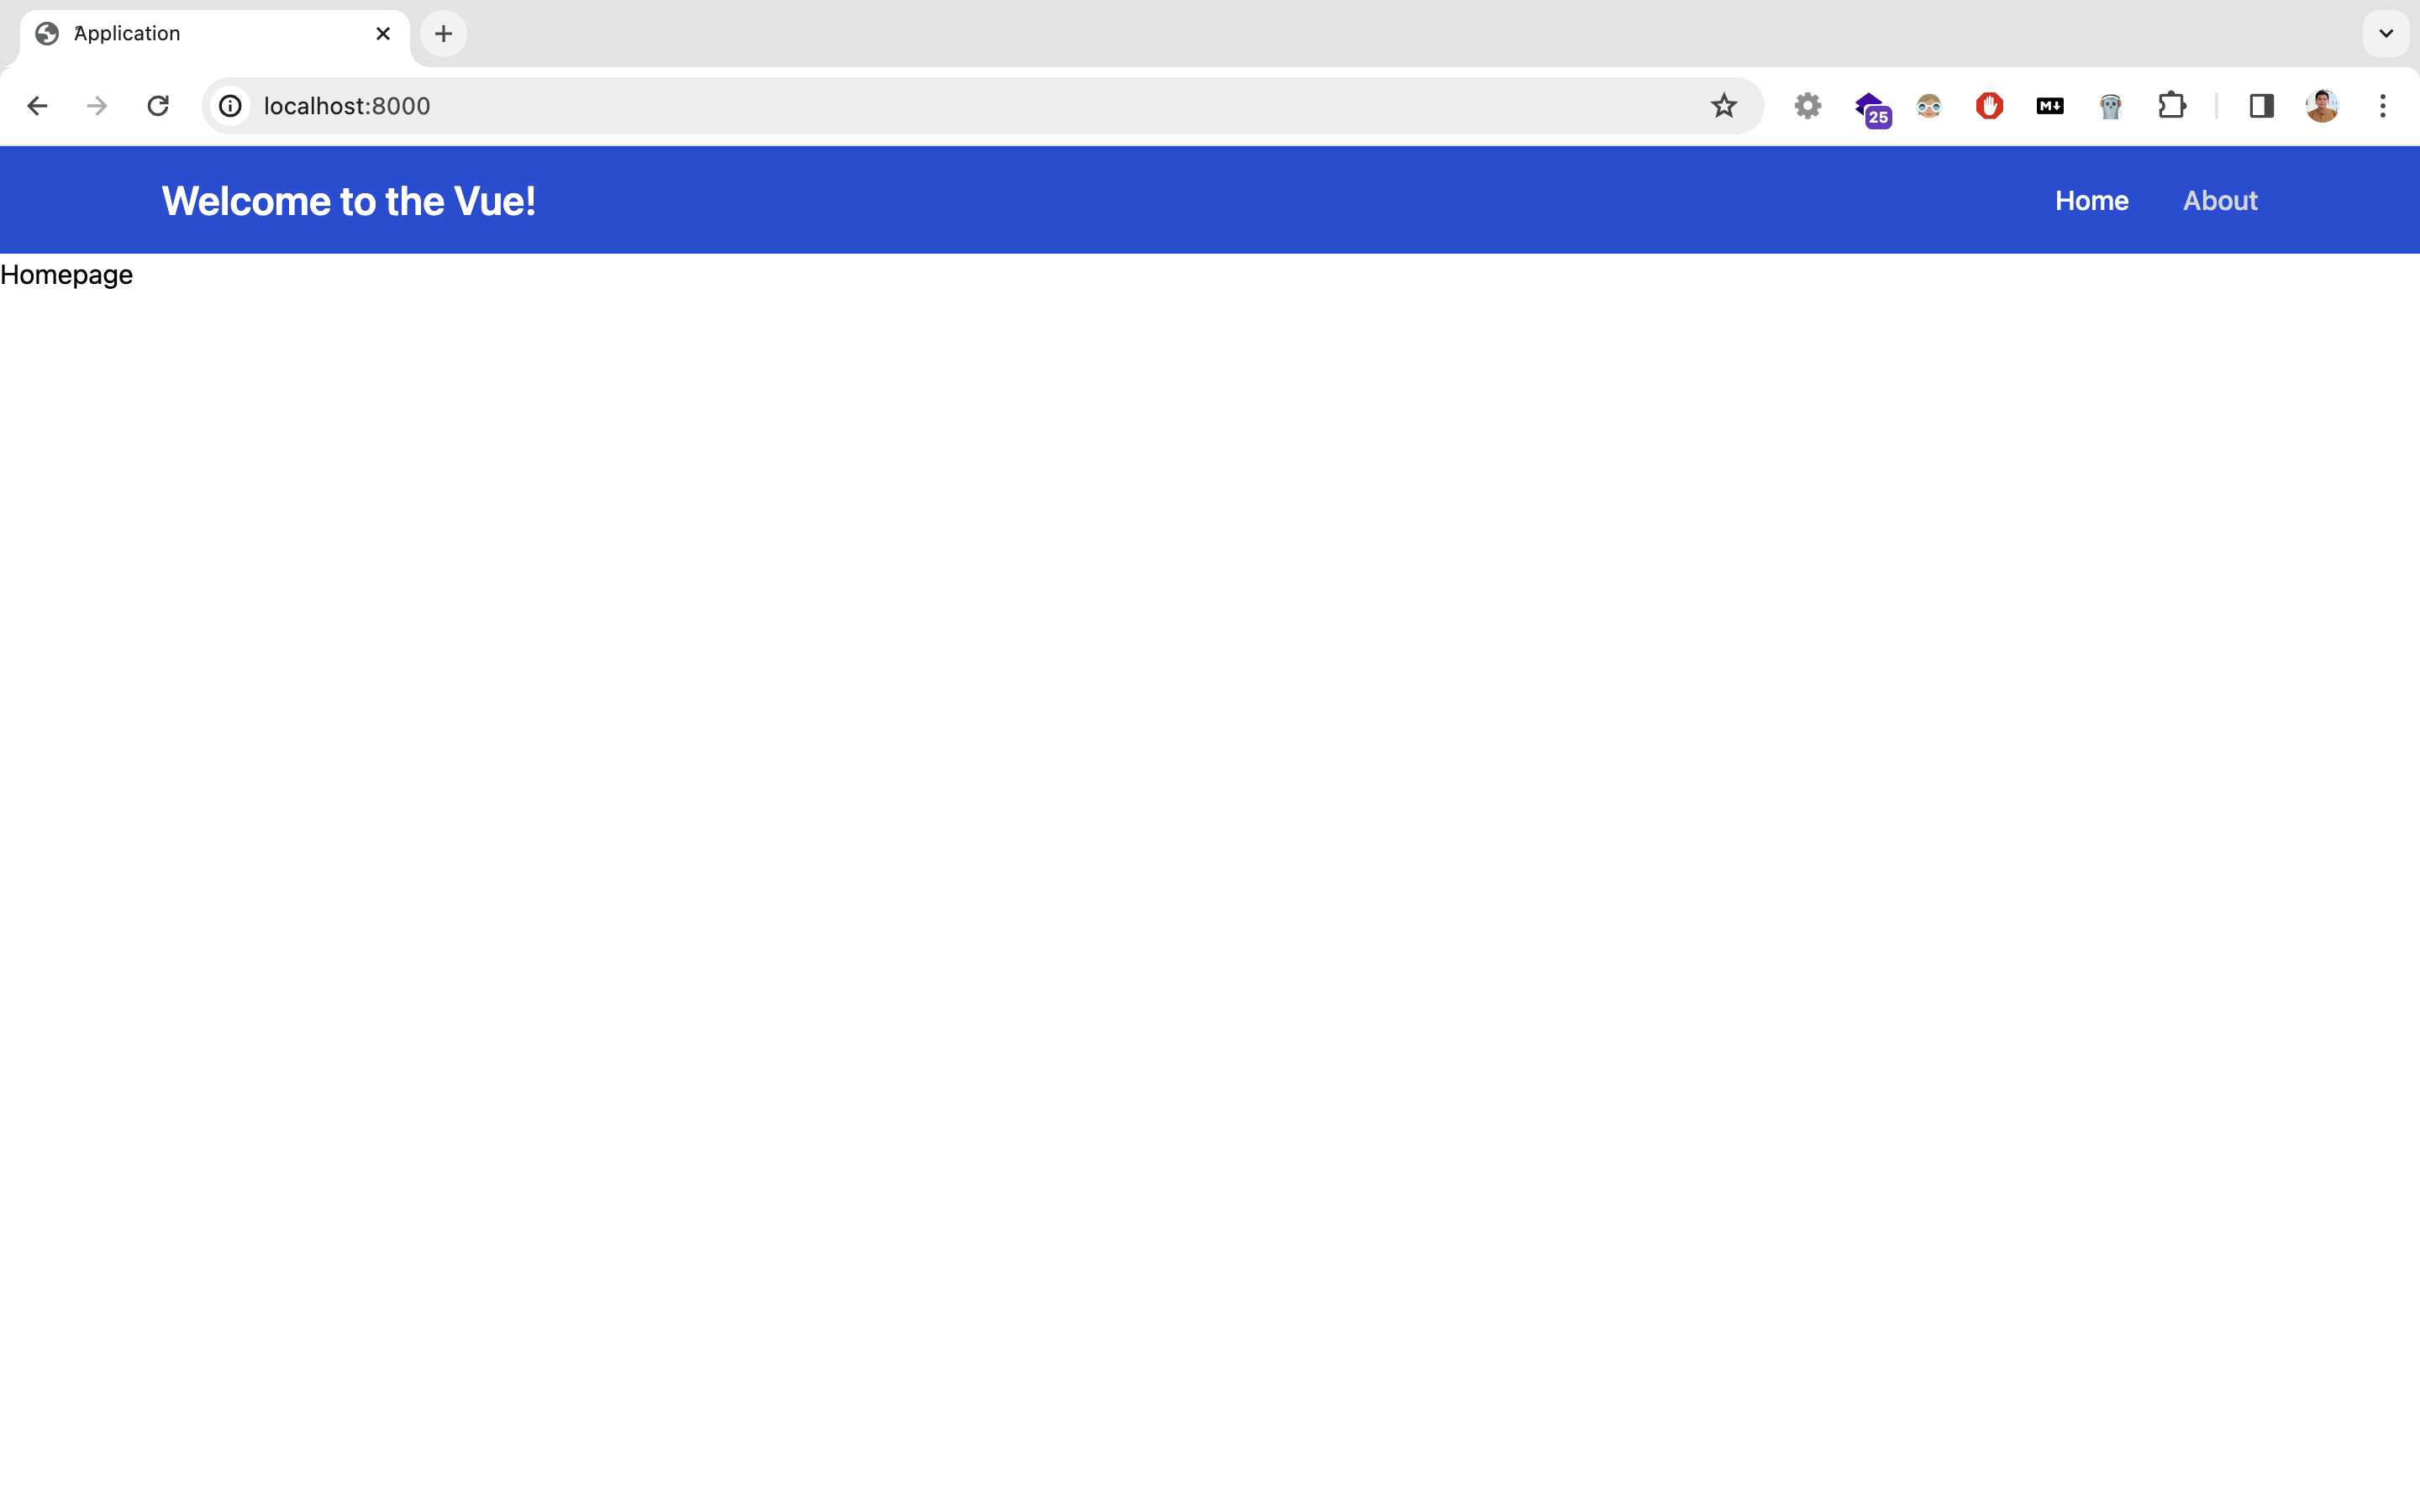
Coba klik tombol home dan about, halaman akan otomatis di-render ulang
 Tampilan home
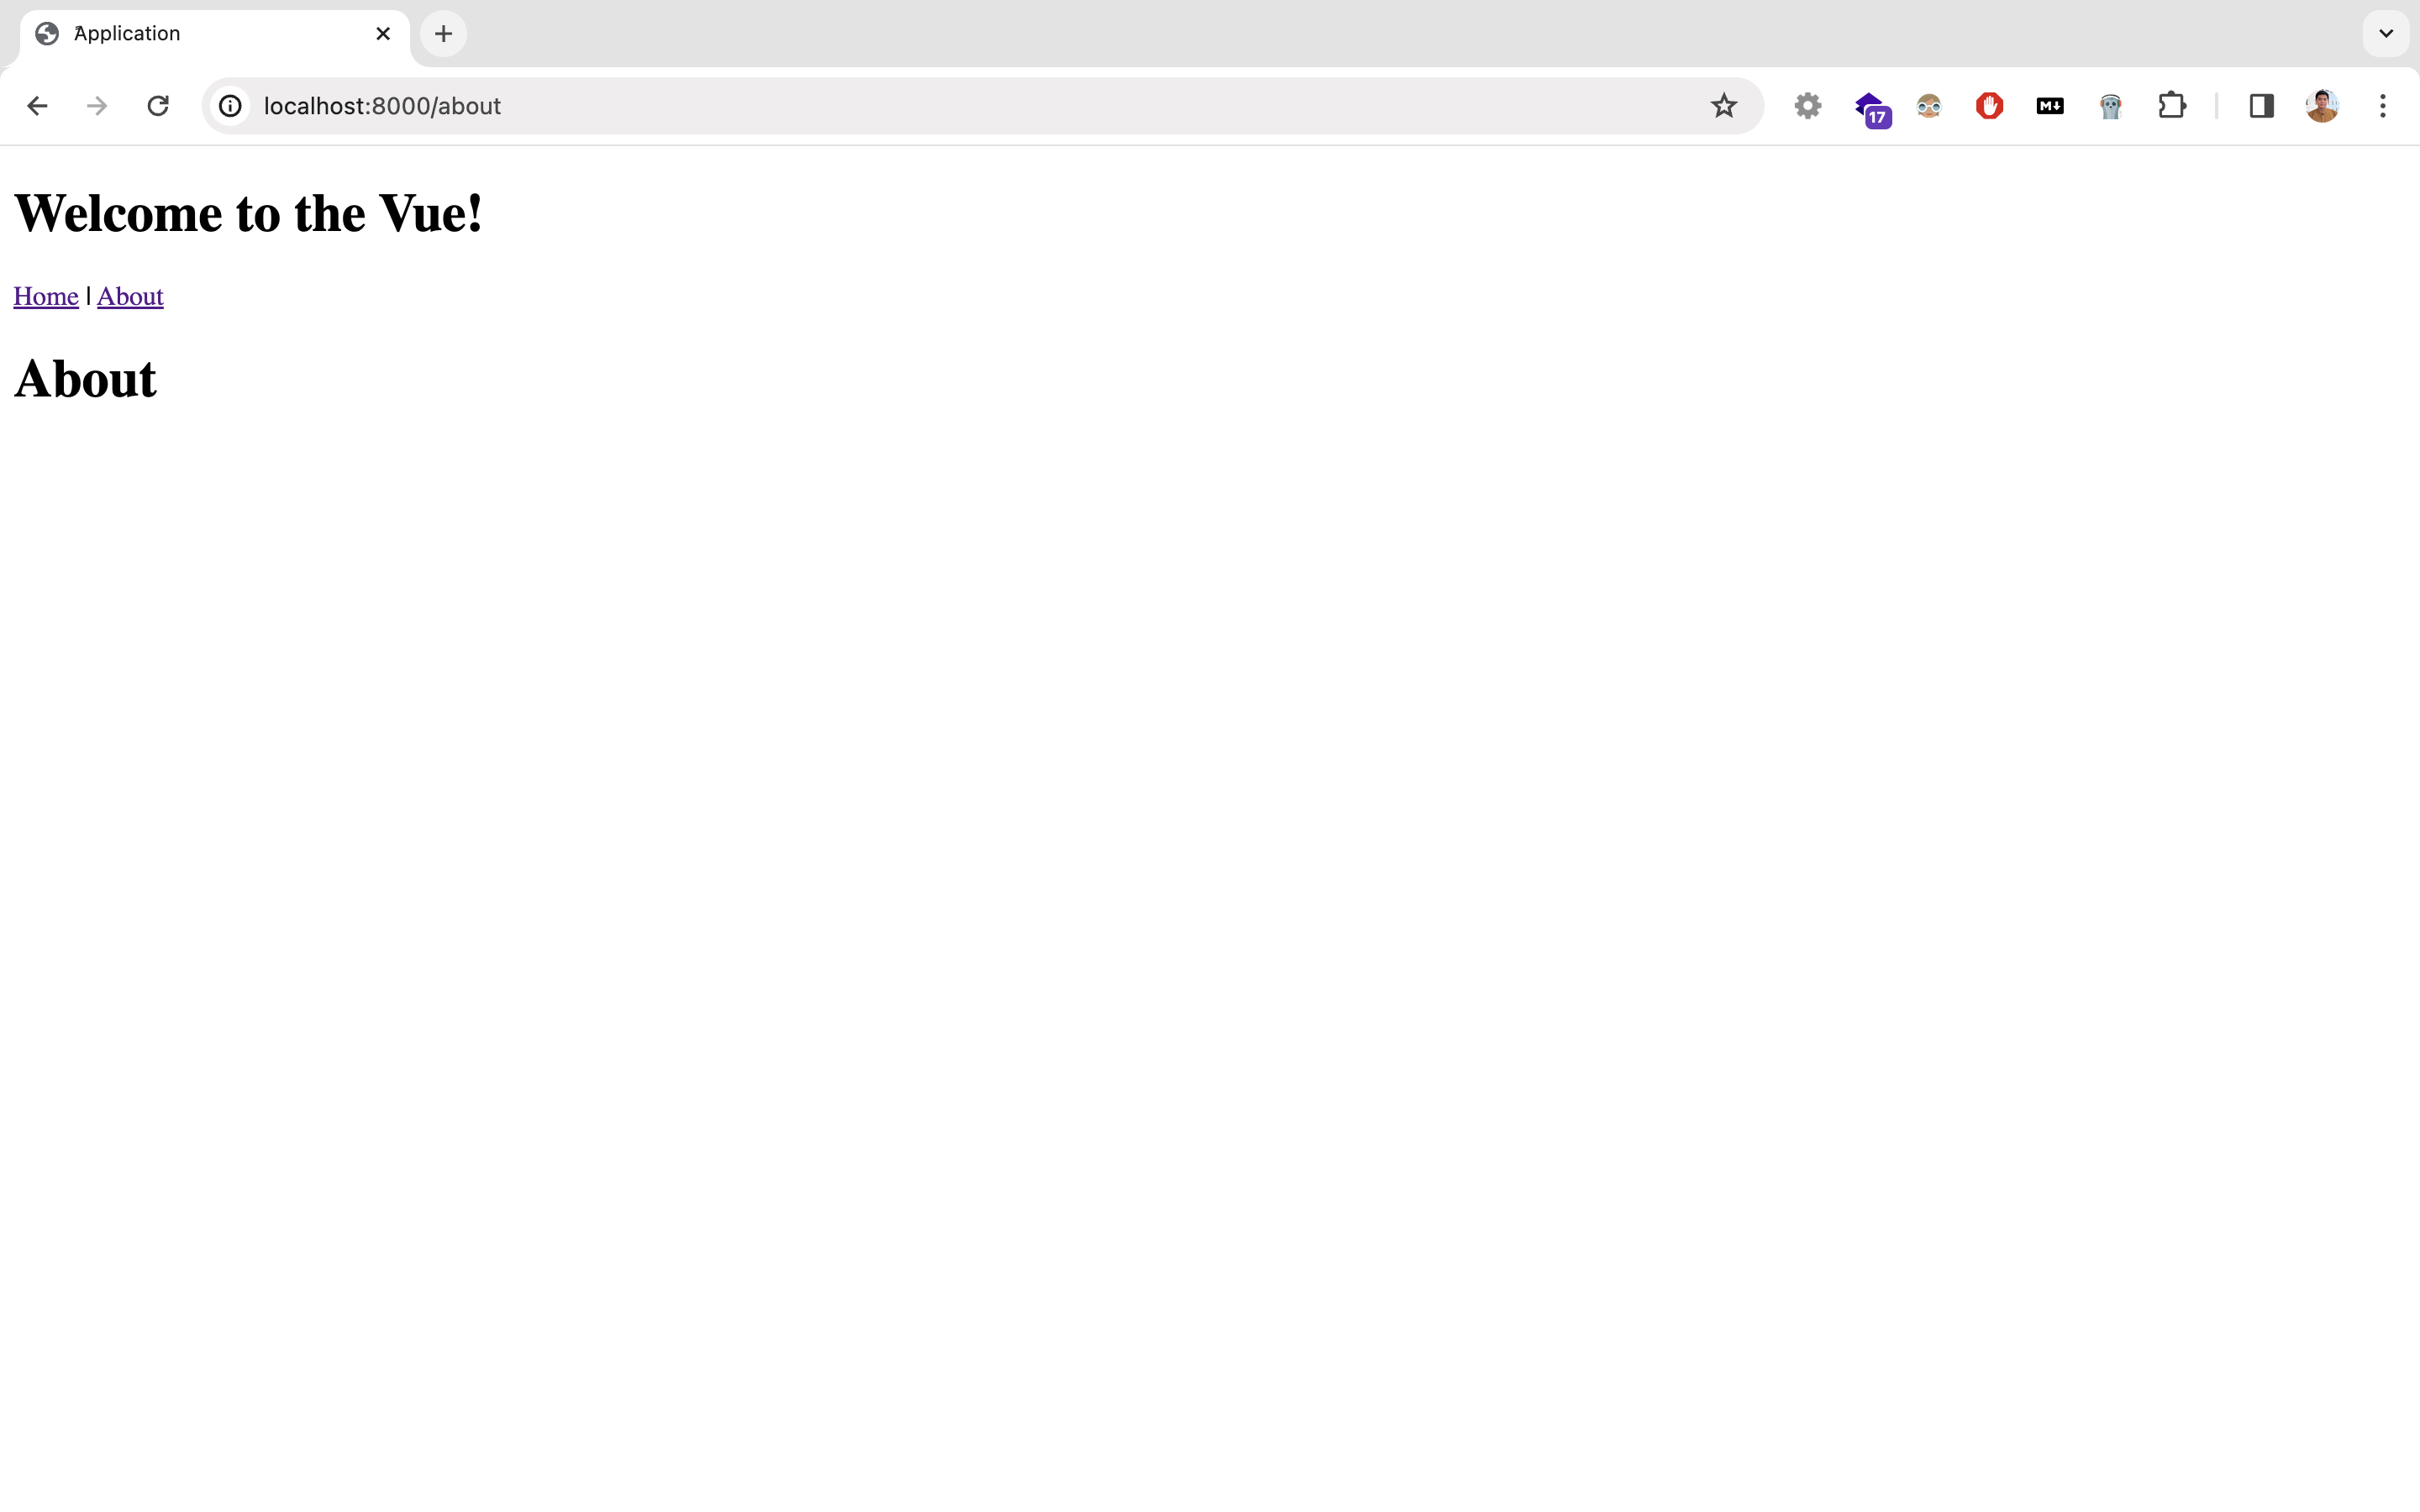 Tampilan about
Install Tailwind css
Install dependency di terminal
1
npm install -D tailwindcss postcss autoprefixer
1
npx tailwindcss init -p
Ikuti semua step yang ada di halaman instalasi Tailwind CSS (Vite)
https://tailwindcss.com/docs/guides/laravel
Setelah semua selesai, coba ganti App.vue dengan kode berikut
1
2
3
4
5
6
7
8
9
10
11
12
13
14
15
16
17
18
19
20
21
22
23
24
25
26
27
28
29
30
31
32
33
34
35
36
37
38
39
40
41
42
43
44
45
46
47
48
49
50
51
52
53
54
55
56
57
58
59
60
61
62
63
64
65
<template>
    <nav class="bg-blue-700 border-gray-200 dark:bg-gray-900">
        <div
            class="max-w-screen-xl flex flex-wrap items-center justify-between mx-auto p-4"
        >
            <a href="" class="flex items-center">
                <span
                    class="self-center text-2xl font-semibold whitespace-nowrap text-white"
                >
                    Welcome to the Vue!
                </span>
            </a>
            <button
                data-collapse-toggle="navbar-default"
                type="button"
                class="inline-flex items-center p-2 w-10 h-10 justify-center text-sm text-gray-500 rounded-lg md:hidden hover:bg-gray-100 focus:outline-none focus:ring-2 focus:ring-gray-200"
                aria-controls="navbar-default"
                aria-expanded="false"
            >
                <span class="sr-only">Open main menu</span>
                <svg
                    class="w-5 h-5"
                    aria-hidden="true"
                    xmlns="http://www.w3.org/2000/svg"
                    fill="none"
                    viewBox="0 0 17 14"
                >
                    <path
                        stroke="currentColor"
                        stroke-linecap="round"
                        stroke-linejoin="round"
                        stroke-width="2"
                        d="M1 1h15M1 7h15M1 13h15"
                    />
                </svg>
            </button>
            <div class="hidden w-full md:block md:w-auto" id="navbar-default">
                <ul
                    class="font-medium flex flex-col p-4 md:p-0 mt-4 border border-gray-100 md:flex-row md:space-x-8 md:mt-0 md:border-0 text-white"
                >
                    <li>
                        <router-link
                            to="/"
                            href="#"
                            class="block py-2 pl-3 pr-4 text-white bg-blue-700 rounded md:bg-transparent md:white md:p-0 dark:text-white md:dark:text-blue-500"
                            aria-current="page"
                        >
                            Home
                        </router-link>
                    </li>
                    <li>
                        <router-link
                            to="/about"
                            href="#"
                            class="block py-2 pl-3 pr-4 text-gray-300 rounded hover:bg-gray-100 md:hover:bg-transparent md:border-0 md:hover:white md:p-0"
                        >
                            About
                        </router-link>
                    </li>
                </ul>
            </div>
        </div>
    </nav>
    <router-view />
</template>
Buka browser kembali
 Tampilan dengan tailwind css
Install Pinia
State management yang direkomendasikan untuk vue 3 adalah Pinia. Jika dibandingkan dengan Vuex, Pinia memiliki banyak upgrade seperti salah satunya dukungan untuk Composable API dan Typescript
Install dependency pinia
1
npm install pinia
Edit file App.js
1
2
3
4
5
6
7
8
9
10
11
12
import { createApp } from 'vue'
import { createPinia } from 'pinia'

const pinia = createPinia()

import App from './App.vue'
import router from "./router"

createApp(App)
    .use(pinia)
    .use(router)
    .mount("#app")
Bikin counter sederhana dengan menambahkan file resources/js/stores/counter.js
1
2
3
4
5
6
7
8
9
10
11
12
13
14
15
16
17
18
// stores/counter.js
import { defineStore } from 'pinia'

export const useCounterStore = defineStore('counter', {
    state: () => {
        return { count: 0 }
    },
    // could also be defined as
    // state: () => ({ count: 0 })
    actions: {
        increment() {
            this.count++
        },
        decrement() {
            this.count--
        }
    },
})
Setelah itu, edit file Homepage.vue
1
2
3
4
5
6
7
8
9
10
11
12
13
14
15
16
17
18
19
20
21
22
23
24
25
<template>
    <h1>Homepage</h1>
    <div class="text-center">
        <p></p>
        <button
            type="button"
            class="rounded-full bg-teal-500 p-2 text-white mr-2"
            @click="counter.increment()"
        >
            Increment
        </button>
        <button
            type="button"
            class="rounded-full bg-teal-500 p-2 text-white"
            @click="counter.decrement()"
        >
            Decrement
        </button>
    </div>
</template>

<script setup>
import { useCounterStore } from "@/stores/counter";
const counter = useCounterStore();
</script>
Penjelasan
- Ketika tombol Increment diklik, maka otomatis counter akan bertambah 1
- Ketika tombol Decrement diklik, maka otomatis counter akan berkurang 1
Buka browser kembali
 Hasil counter sederhana dengan pinia